
HBCSE VPN Details
Reach HBCSE internal services securely from anywhere. Setup is a two-step process.
This is a two-step process
You need the HBCSE VPN configuration file (your .ovpn file) and the OpenVPN client software.
Step 1
Download the configuration file
HBCSE VPN configuration file (user .ovpn file).
Step 2
Download the VPN client software
OpenVPN client software. Pick your device in the tabs below.
Download the client software
Use the tabs to open the steps for your device.
Download the software from the following link, then drag the config file into it:
https://openvpn.net/client-connect-vpn-for-windows/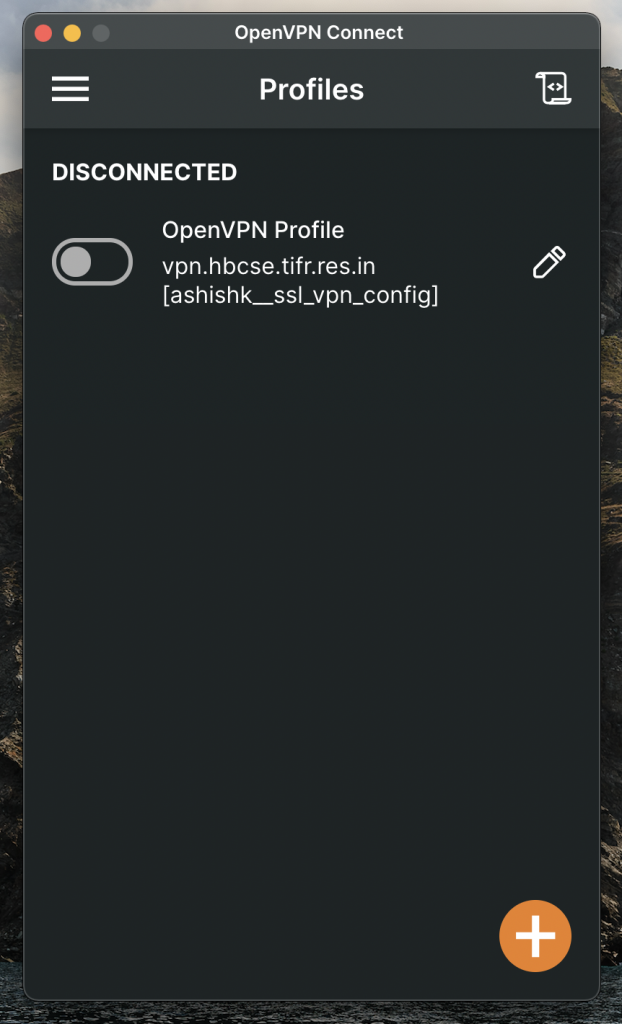
Download the software from the Play Store or the Apple App Store.

Download the software from the following link, then drag the config file into it:
https://openvpn.net/client-connect-vpn-for-mac-os/Install OpenVPN
- Open Terminal
- Install OpenVPN
Installing command for Ubuntu
sudo apt-get install openvpn network-manager-openvpn-gnomeInstalling command for CentOS
yum install openvpnConnecting to the VPN
- Open Terminal
- Go to the folder where the configuration file is downloaded, for example cd Download
- Enter the following command to log in
Please note: the next step is not a direct copy and paste. Replace the file name with your own downloaded .ovpn file.
sudo openvpn --config YOUR-DOWNLOADED-OVPN-FILE.ovpn --tls-version-min 1.0 --auth-nocacheYou will be asked for your VPN login id and then your password. Enter your full email id or username, for example xyz@hbcse.tifr.res.in or xyz, and its password. (xyz is replaced by your username.)
After you enter your credentials, Thunderbird-style auto-detection is not used; the VPN simply tries to connect. If you see the message below, you are connected:
Initialisation sequence completed.You are connected to the VPN now. Don’t close the terminal.
Disconnecting from the VPN
Go to the terminal where you connected. Press Ctrl+C, or close the terminal, to log out.
Alternative method: HBCSE VPN (GUI)
Note: this applies to newer Ubuntu versions only (18.04 and higher).
- Open the .ovpn file in a text editor.
- Delete the 6th line:
route remote_host 255.255.255.255 net_gatewayand save the file. - Import the .ovpn file in Linux Network Manager (VPN option “+” button, then import from file).