HBCSE VPN Details
This is a two step process
1. HBCSE VPN configuration file (user ovpn file)
2. OpenVPN client software
Step 1. Download a configuration file from the link:
Click here to Download file
Step 2. Download a VPN Client Software:
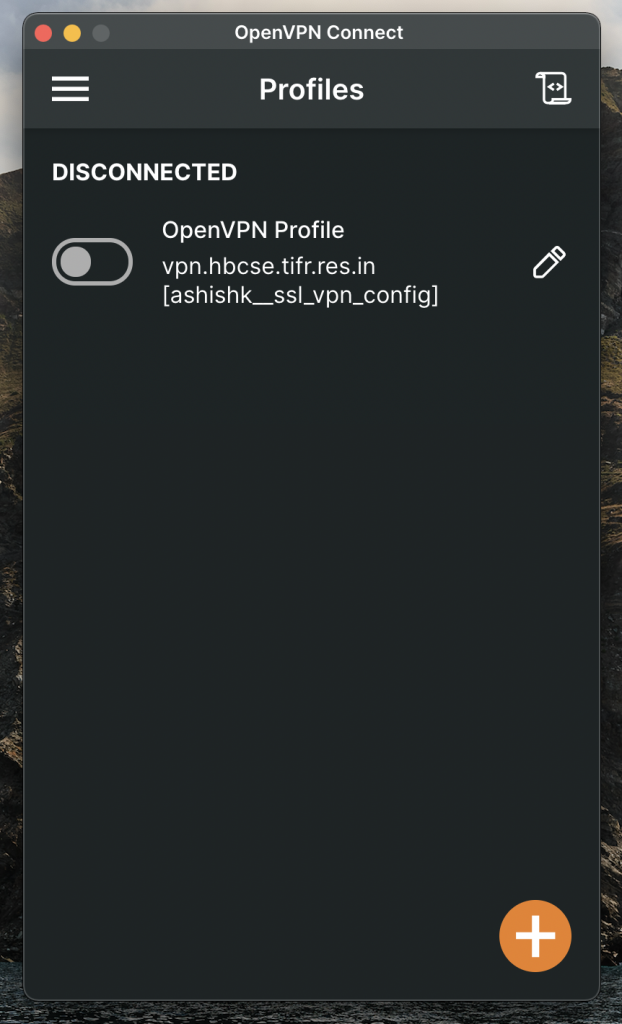
Download software from the following link and drag the config file :
https://openvpn.net/client-connect-vpn-for-windows/

Download software from Play or Apple Store


Download software from the following link and drag the config file
https://openvpn.net/client-connect-vpn-for-mac-os/


- Open Terminal
- Install OpenVPN
sudo apt-get install openvpn network-manager-openvpn-gnomeInstalling Command for Centos
yum install openvpn
Connecting to VPN
- Open Terminal
- Go to the folder where the configuration file is downloaded. i.e. cd Download
- Enter the following command to login
Please note that the next step is not direct copy/paste.
You would have to enter the file name of your 'configuration_file' i.e. the downloaded .ovpn filesudo openvpn --config YOUR-DOWNLOADED--OVPN-FILE.ovpn --tls-version-min 1.0 --auth-nocacheInitialisation sequence completed.
You are connected to VPN now. Don't close the terminalDisconnecting from the VPN
Go to the terminal from where you connected to VPN Use the combination Ctrl+C on the keyboard or close the terminal to logoutAlternative Method: HBCSE VPN (GUI)
Note: This is applicable for newer versions of Ubuntu only i.e. 18.04 and higher.- Open .ovpn file in a text editor
- delete 6th line : "route remote_host 255.255.255.255 net_gateway". & save the ovpn file.
- Now import the ovpn file in Linux Network Manager(VPN option "+" button --> import from file)
